Motivation
Figure 1

Figure 2

Figure 3

Figure 4

In-browser sessionIn-browser session
Figure 1
Configuring Git
Our first repo
Figure 1

Undoing things
Branching and merging
Figure 1

Figure 2
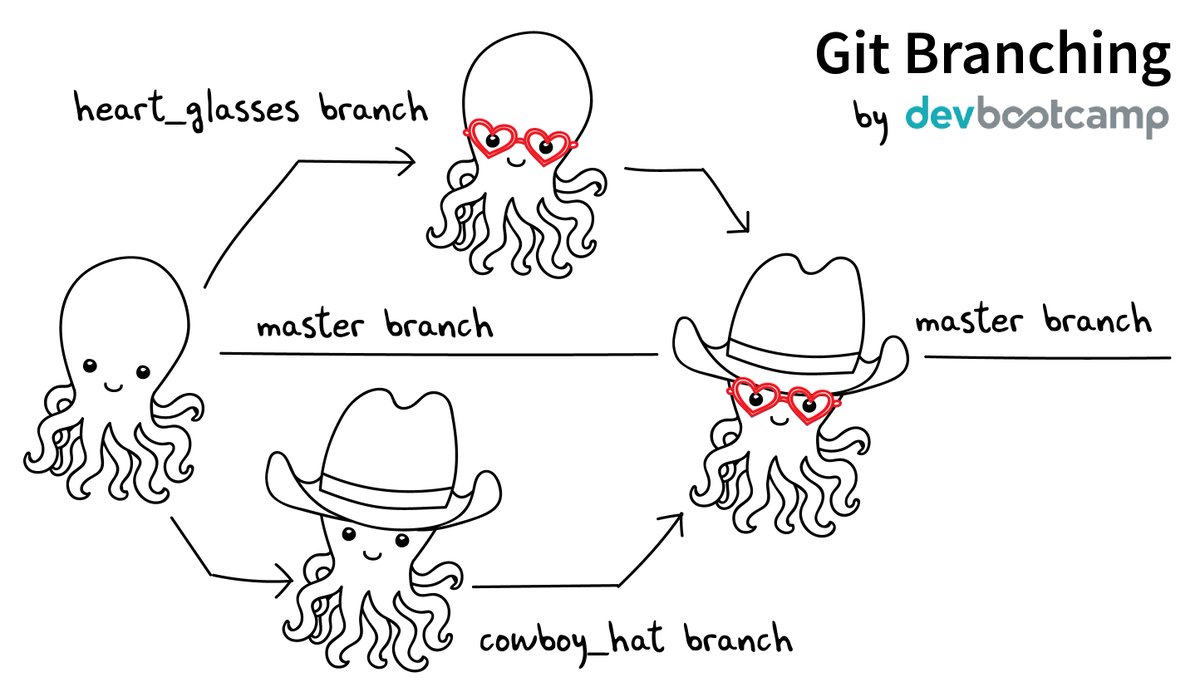
(Source: https://twitter.com/jay_gee/status/703360688618536960)
Figure 3

Figure 4

Figure 5

Figure 6

Figure 7

Figure 8

Figure 9

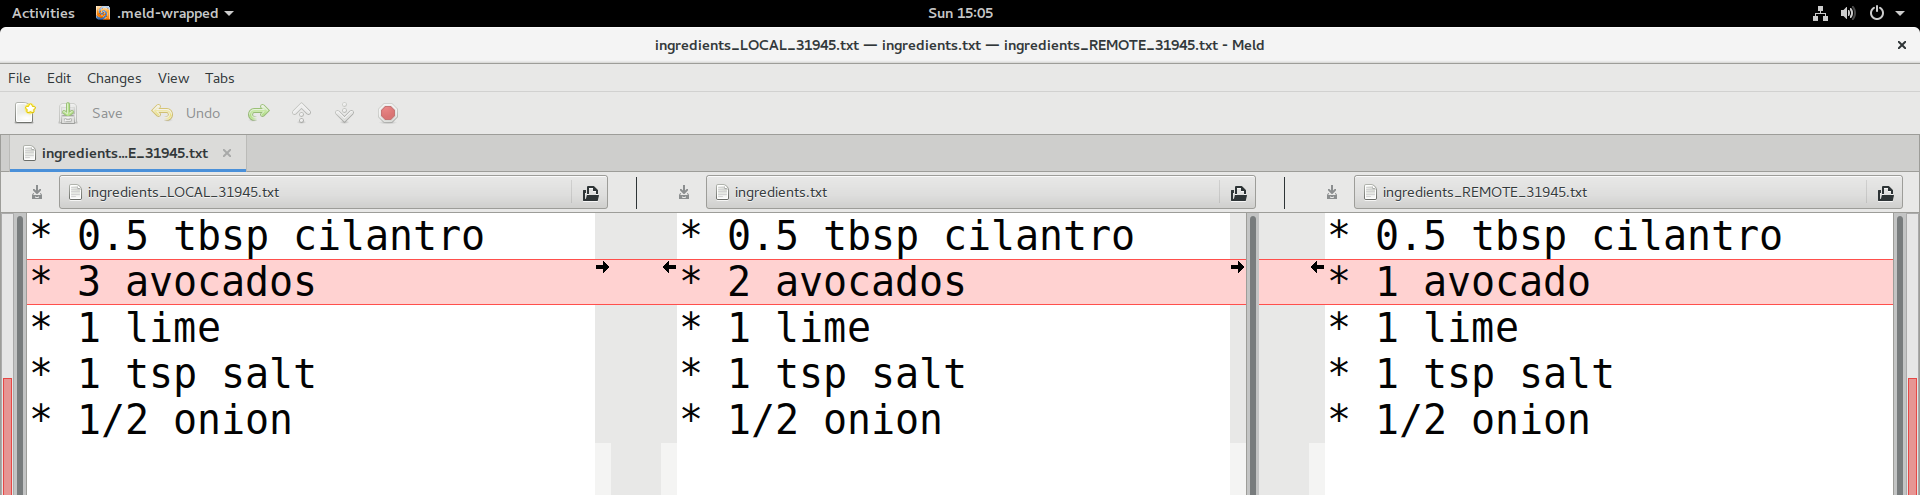
Conflict resolution
Figure 1
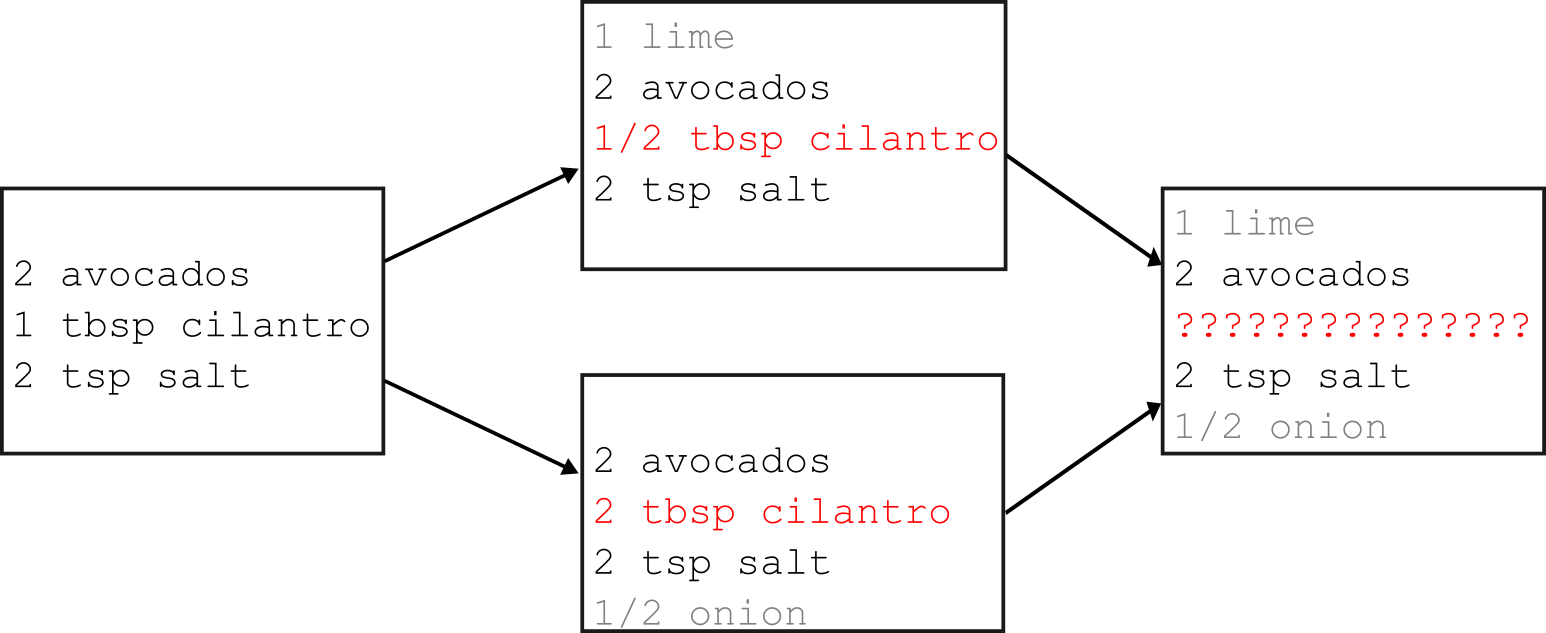
Figure 2
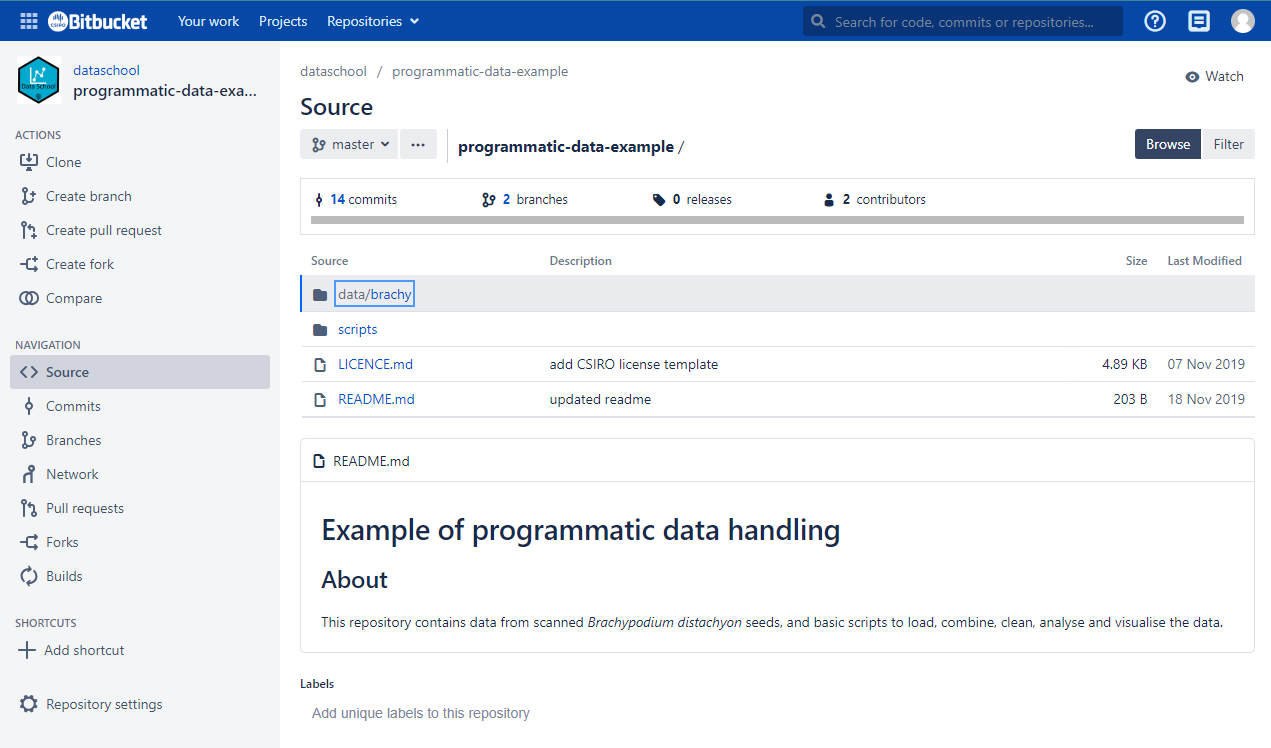
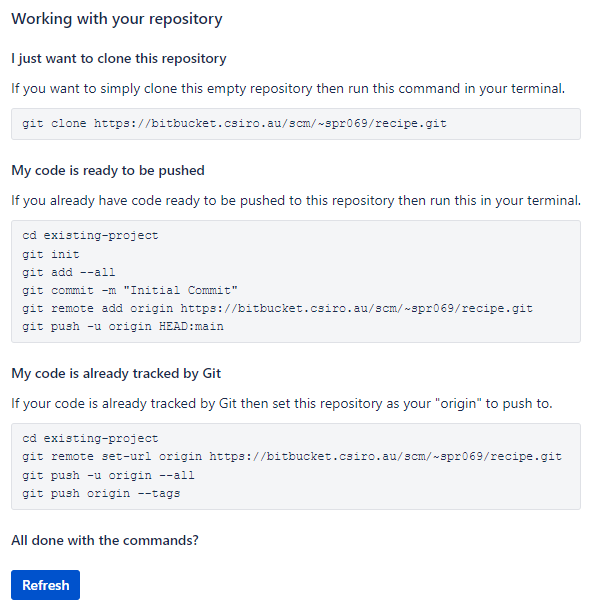
Sharing repositories online
Figure 1
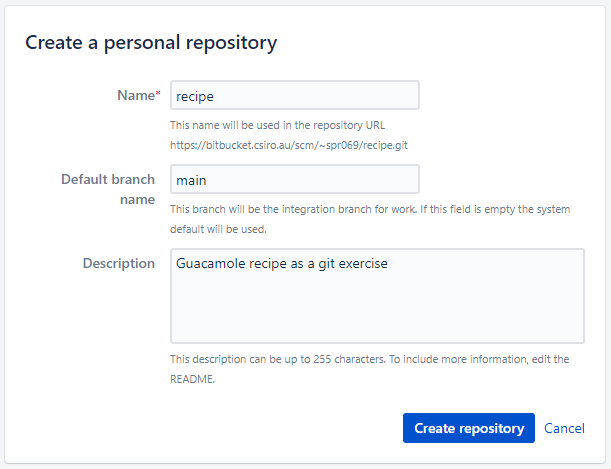
Figure 2
Collaborating with git repositories
Figure 1
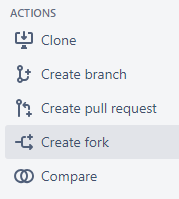
Figure 2
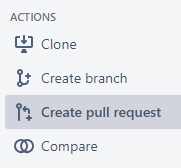
Figure 3
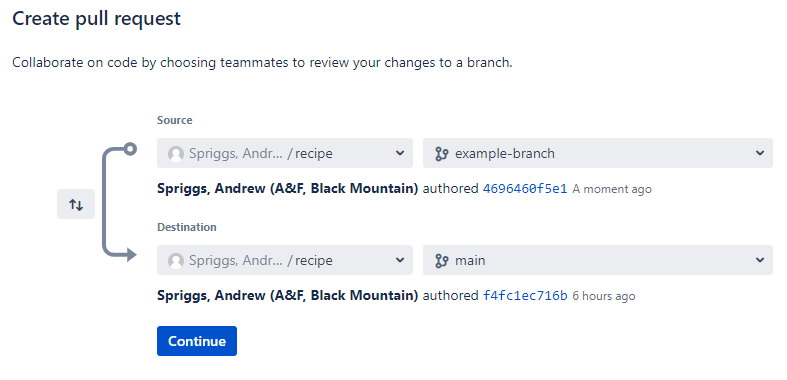
Figure 4
Person 1: 1. One person from each team should create a new Bitbucket
repository named ‘favourite-things’. 2. Copy the supplied
git clone command to create a local copy. 3. Locally,
create a file named README.md and list a few of your
favourite things within it. 4. Use git add,
git commit and git push to move your new file
back to the remote. 5. In the Bitbucket repository, click ‘Repository
Settings’ in the lefthand menu, followed by ‘Repository permissions’.
Use the form to give “User access” with “Write” permissions to your team
member(s). 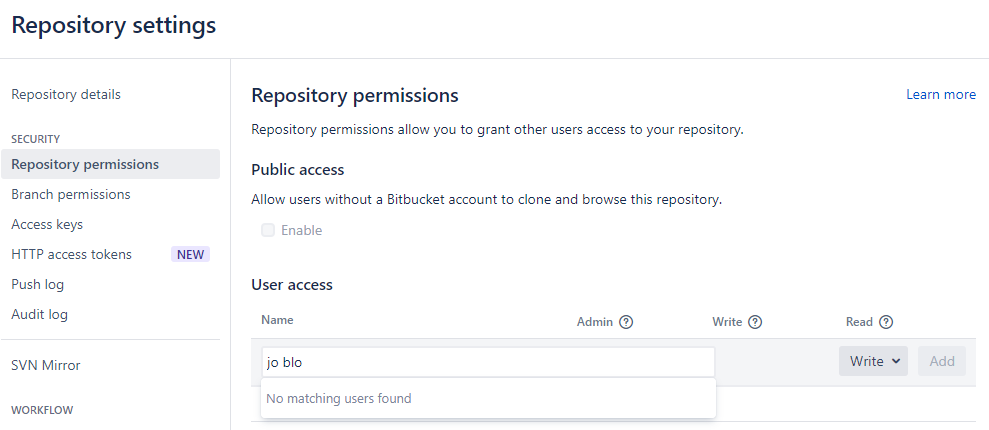
6. Share the repository link to your team member(s).